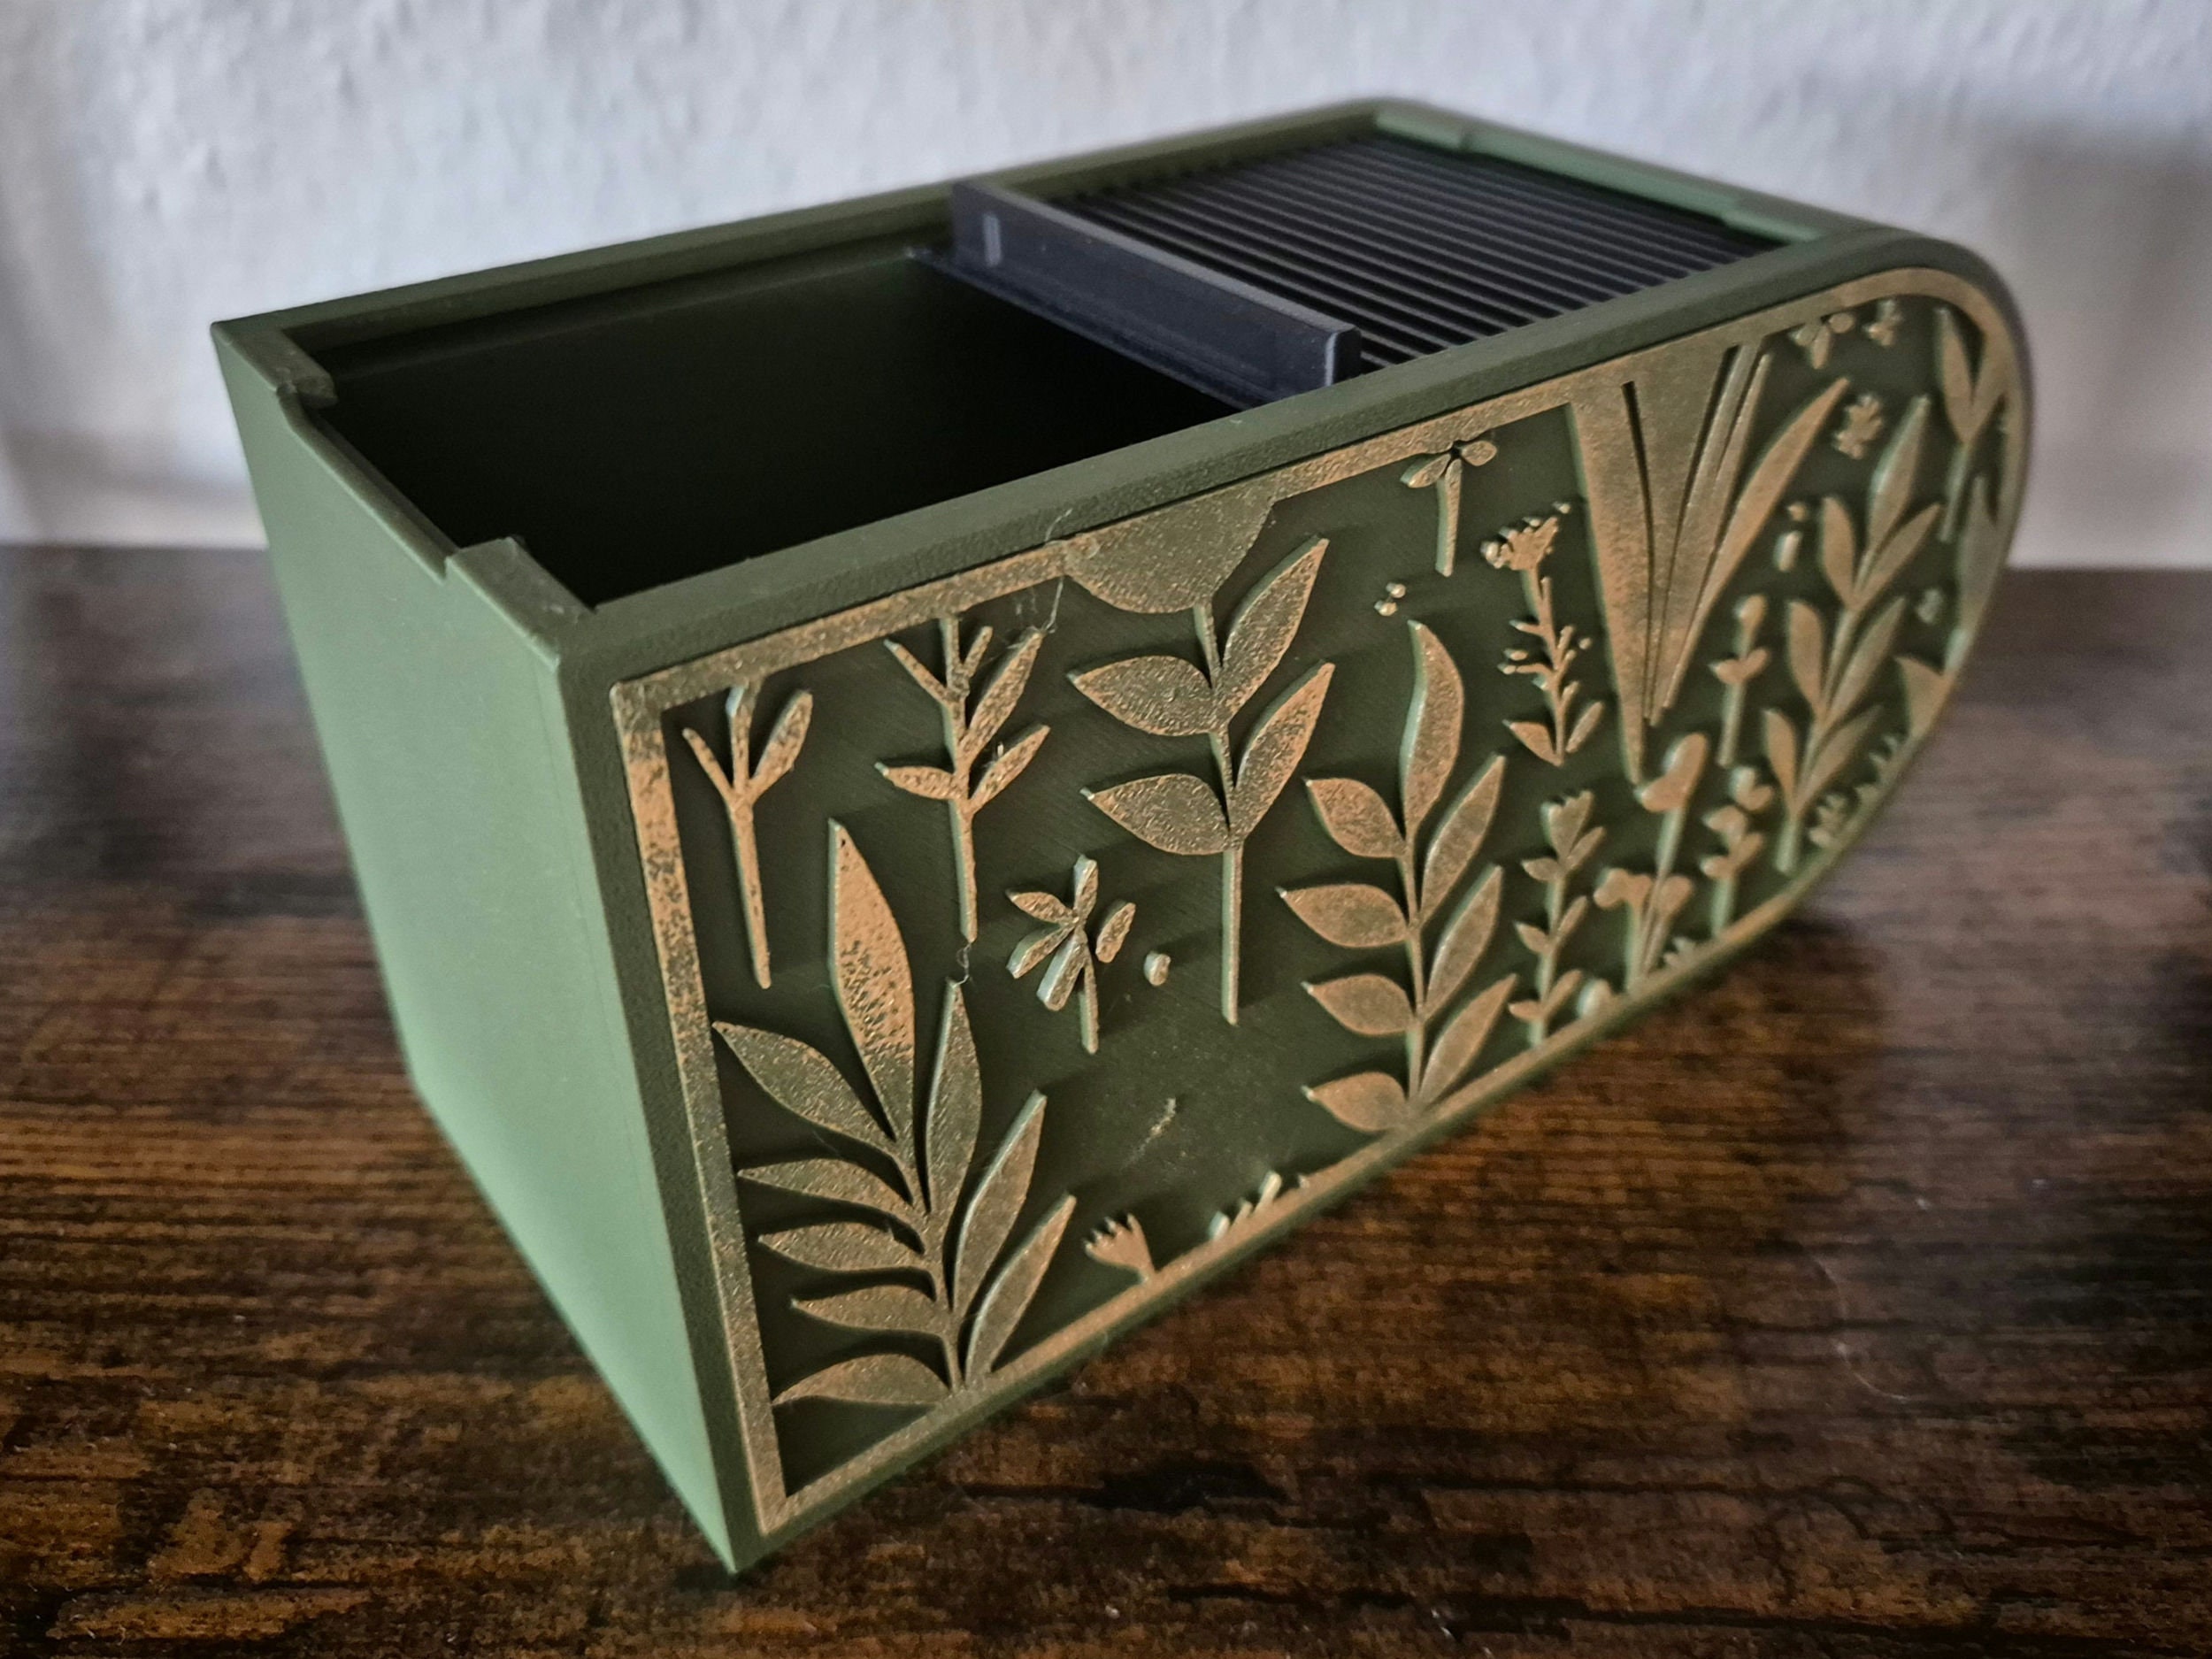
The acoustic slat wall has established itself as the favorite way to treat a room and improve its look in a single move. Once it's up, the real question remains: how do you fit it out? Hanging a shelf, a controller holder, a headset or a hook without drilling the slats that make the whole system worthwhile. Here's how screw-free accessorizing works on this kind of wall, and how to avoid the pitfalls.
Why the acoustic slat wall changed everything
For a long time, treating a room's acoustics meant flat foam panels, unattractive, screwed or glued directly to the wall. The slat wall — also called an acoustic slat panel — took over by combining two functions in a single installation.
Acoustics and decor in one move
The principle is simple: an absorbent felt panel is dressed with thin wooden slats, evenly spaced. Visually, it's warm cladding that structures the wall and catches the light. Acoustically, the felt absorbs mid and high frequencies: voices, clatter, sibilance, room echo. Where acoustic foam ruined the decor, the acoustic slat enhances it.
The system spread first through contemporary offices, then into gaming setups and living rooms. It's now available in kit form from most large DIY retailers, glued, screwed or clipped into place.
A modular system by construction
The other reason for its success lies in the structure of the wall itself. The vertical slats, spaced a few centimeters apart, create a regular grid. That grid is exactly the framework you need for hanging accessories: short shelves, trays, mounts, hooks. The wall stops being passive and becomes a mounting infrastructure.
Provided you hang things properly. And that's where many installations miss a step.
Why you don't want to drill your slats
It's the natural reflex: you want to hang something, you reach for a screw. On a slat wall, that's precisely what to avoid. Three concrete reasons.
Sections too thin for a wall plug
The slats on an acoustic slat wall are thin, most often between 13 and 17 mm thick. That's what gives them their elegance and what lets you line several up without visually overloading the wall. But it's also insufficient for a conventional screw: a 4 mm hole in a 14 mm section weakens the slat, and the slightest pull-out splits it along the grain.
The wall loses what makes it adaptable
You fit a controller holder today at 1.2 m from the floor, and six months later you buy a bulkier headset that needs the mount raised. If every fixing has left two holes, your wall becomes a map of past configurations. Screw-free fixings, by contrast, keep the slat intact and let you reorganize freely.
The look of a slat with a hole in it
A light or medium wood slat carries the light. A hole filled with wood filler stays visible in backlight, especially on oiled finishes. A screw hidden under a fixing is no better as soon as you move the fixing. The logic of a slat wall assumes clean wood from floor to ceiling.
How a screw-free slat fixing works
The principle of a screw-free fixing designed for a slat wall is mechanical, never adhesive. It exploits the geometry of the slat to hold on by friction or gentle clamping, and it moves or comes off in seconds.
The clamp or wedge principle
A good fixing embraces the slat on three faces (front, back, top or bottom depending on the model), with a tolerance calibrated for the intended thickness range. Clamping is provided either by the controlled flexibility of the material (the plastic deforms slightly and springs back against the wood) or by a sliding wedge that presses the fixing against the slat when you push it downward. In both cases, nothing bites into the wood.
The standard thicknesses to know
The vast majority of acoustic slat walls on the market use slats 13 to 17 mm thick and 25 to 50 mm wide. Screw-free fixings are designed around that range. Before buying, measure your slats in two different places: manufacturing tolerance can give you 14.5 mm where the supplier says 15.
3D printing's role
This kind of part — small section, precise geometry, a need for slight elasticity — is exactly what 3D printing produces best. The clamp is printed as a single block, with no assembly, with internal fillets that spread the pressure. PETG in particular gives an excellent combination of rigidity and elastic return for this kind of function. That's what makes it possible to offer a solid fixing weighing under 30 g that stays as discreet as a slat.
PrintWonders offers two pieces designed for this system: a screw-free fixing for acoustic panels with quick attachment, repositionable at will, and a stackable screw-free controller holder compatible with 13 to 17 mm slats. Both pieces are designed to chain together and to accept further modules.
Which accessories to hang on an acoustic slat wall
Once the mounting mechanism is in place, the wall can be fitted out without limit — as long as you respect the load capacity and keep the look coherent.
Gaming mounts: controllers, headset, remote
This is the use that pushes most people to fit out their slat wall. A dedicated controller holder stops the controller lying on the coffee table or falling between two cushions. A headset hook frees the desk and relieves the headband, which no longer deforms resting on the corner of a screen. A hook for the TV remote clears the coffee table.
Short shelves and trays
A shelf 30 to 40 cm long, fixed on two screw-free mounts on adjacent slats, easily holds a book, a small photo frame, a compact speaker. Load capacity depends on the number of mounts and the slat spacing; two short shelves beat trying to impose one long tray that sags in the middle.
Hooks, cable holders, key racks
Small accessories are the most rewarding visually. A screw-free hook to hang a carry bag, a cable guide to tidy the headset or vacuum cleaner cable, a key rack by the door. Everything that was weighing down a basket or lying on a low cabinet finds its place on the wall.
Stackable, combinable modules
The best ranges of fixings are designed to interlock. A base clips onto the slat, then a controller-holder module stacks onto it, then another module takes a headset hook. You build the function you want, and evolve it without removing anything from the slat.
Choosing the right fixing
Three criteria separate a system that lasts from a purchase that ends up in a drawer.
Measure your slat thickness
Essential. A fixing that's too wide floats on the slat and slips. One that's too tight forces, marks the wood and eventually splits it. Look for a product that clearly states its compatibility range (13 to 17 mm, for example) rather than a "universal" model with no indication.
Load capacity
Check the maximum load. A well-designed fixing holds 1 to 3 kg without flinching. Beyond that, you need to multiply the support points — that's the principle behind a shelf carried by two mounts rather than one.
Material and finish
PETG is now the reference for this kind of part: good mechanical strength, little sensitivity to temperature variation, low deformation over time. Standard PLA works too but can creep (deform slowly under constant load) in the long run, especially in a warm room. On finish, matte black or light wood blend into most slat walls; brighter colors have their use for signaling a function (key rack, a child's controller holder).
Installation and organization tips
Don't overload the lower zone
All the weight accumulated at the bottom of the wall tires the acoustic panel's own wall fixing faster. Better to spread functions over the height, and keep the heaviest accessories (loaded shelves, headset mounts) at mid-height.
Think ergonomics
A fixing goes up in seconds, so there's no need to get the height right first time: put what you grab often at shoulder height, what you put away daily at arm's reach, and what's on display but never handled up high.
Let the acoustic surface breathe
The wall's acoustic effectiveness depends on the area of felt exposed between the slats. The more you cover with shelves and mounts, the more you mask the acoustic function. The common-sense rule: don't exceed 30% of the total surface covered by accessories. You keep the acoustic effect and let the wall breathe visually.
Three typical use cases
Gaming setup
The acoustic slat wall often goes behind the gaming chair. Three accessories immediately change the comfort: a double controller holder, a headset hook, and a small shelf for the mouse charging base or batteries. The wall absorbs the echo of game audio, the accessories free the desk.
Home office
For anyone working on video calls and spending the day in a headset, a dedicated headset hook is the most rewarding purchase. Add a cable holder to route the keyboard's USB-C cable cleanly, and a short shelf for a notebook. The wall treats the echo of your voice in front of the mic and gives your workstation structure.
Voice and podcast studio
The challenge is twofold: absorb as much as possible in the mic's direct field, and keep accessories (pop filter, monitoring headphones, backup mic) to hand without cluttering the table. Here, favor fixings in a dark finish so they don't create visible reflections on camera, and place accessories outside the frame.
Putting it into practice
The acoustic slat wall isn't a finished object. It's an infrastructure you can equip, modify and densify over the weeks. Provided you use the right fixings: screw-free, calibrated to the thickness of your slats, and stackable so they follow how your setup evolves.
If you're starting to fit out your wall, begin by measuring your slat thickness, list 3 or 4 priority functions, and choose a modular mounting system you can extend later. For an accessory that doesn't exist as standard — a holder in a precise format, a custom mount, a fixing for an unusual controller model — on-demand 3D printing makes it possible to produce the exact part you need, one unit at a time.
Got a special case — slat thickness outside the standard range, a heavy load, a precise aesthetic constraint? Describe the project to us, we'll assess feasibility and send you a quote.